How can I put my face on a picture for free?
Have you ever wondered how to get your face into another picture? Adding your face to a photo is a simple way to experiment, have some fun, or just see how you seem in a different setting. In this blog post, we’ll go over how to quickly and easily add your face to any photo. By the time this post ends, you’ll be able to add your face to any image you choose!

Why do you put your face in another picture?
Fun and creativity
Sometimes you just want to do it for fun. Putting your face on a famous painting or movie poster is a great way to entertain yourself and your friends.
To make a special gift
Imagine that you gave your friends or family a picture of your face in one of their scenes. This can make it a unique and memorable gift!
How to optimize social media posts.
Placing your face in interesting backgrounds or photos can be very useful if you want to make your social media posts stand out. This can help you attract and engage your followers.
What You Need to Get Started
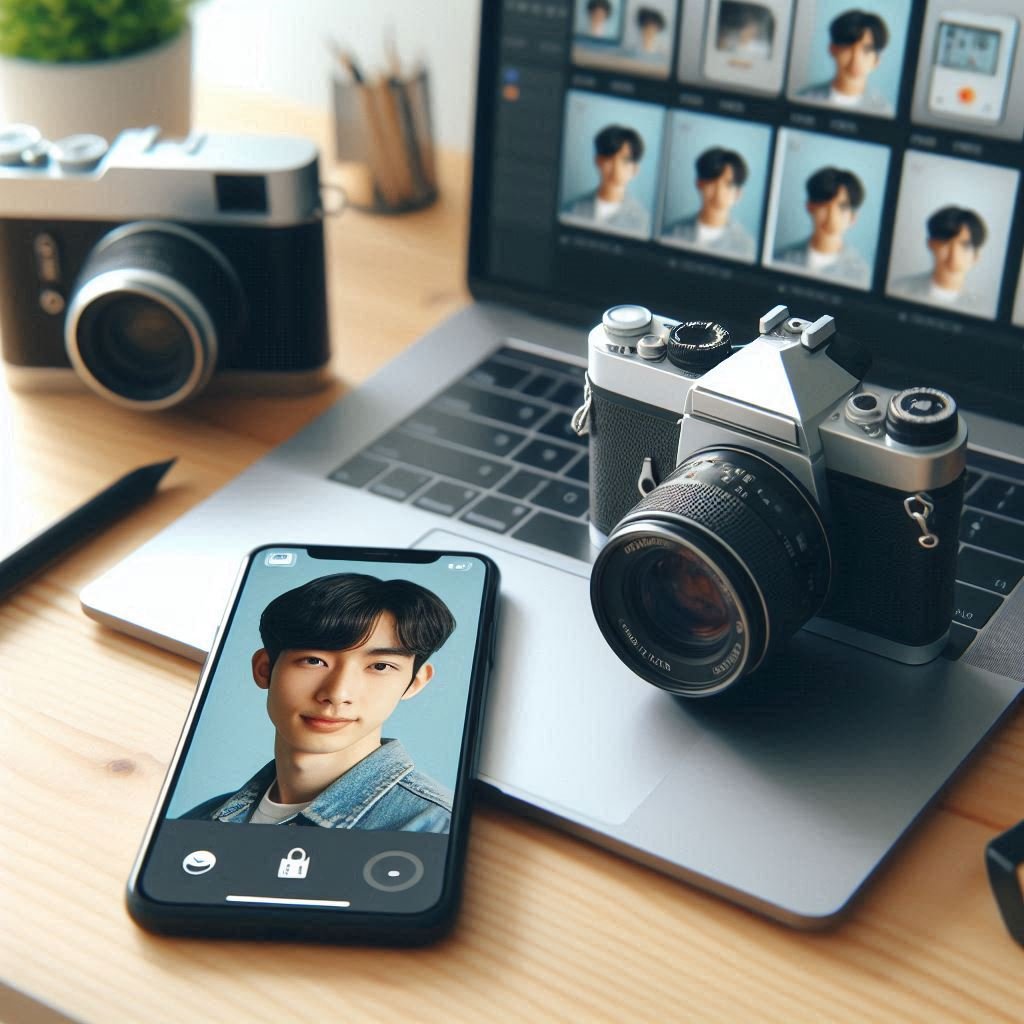
A photo of your face
First, you’ll need a clear photo of your face. It should be a bright front image. This will help you easily fit your face into the other image.
Target Image
Then, select the photo in which you want to add your face. It can be any image – a picture of a celebrity, a beautiful scene, or anything else. Try to match the lighting and angles of your face to the photo for better results.
Photo editing tool or app
There are many such tools available that make this process easy. Some popular options are:
– Adobe Photoshop (Advanced)
– Canva (for ease of use)
– PicsArt (mobile friendly)
– Face Swap Apps (like FaceApp or ReFace)
Step-by-Step Guide: Adding Your Face to a Photo
Step 1: Open Your Chosen App or Tool
First, open the app or tool you want to use. If you are using mobile then download and install it from app store. If you’re using a web-based tool like Canva, go to their website and log in.
Step 2: Upload the Photos
Upload your face photo and target photo. Most apps allow you to upload multiple photos at once.
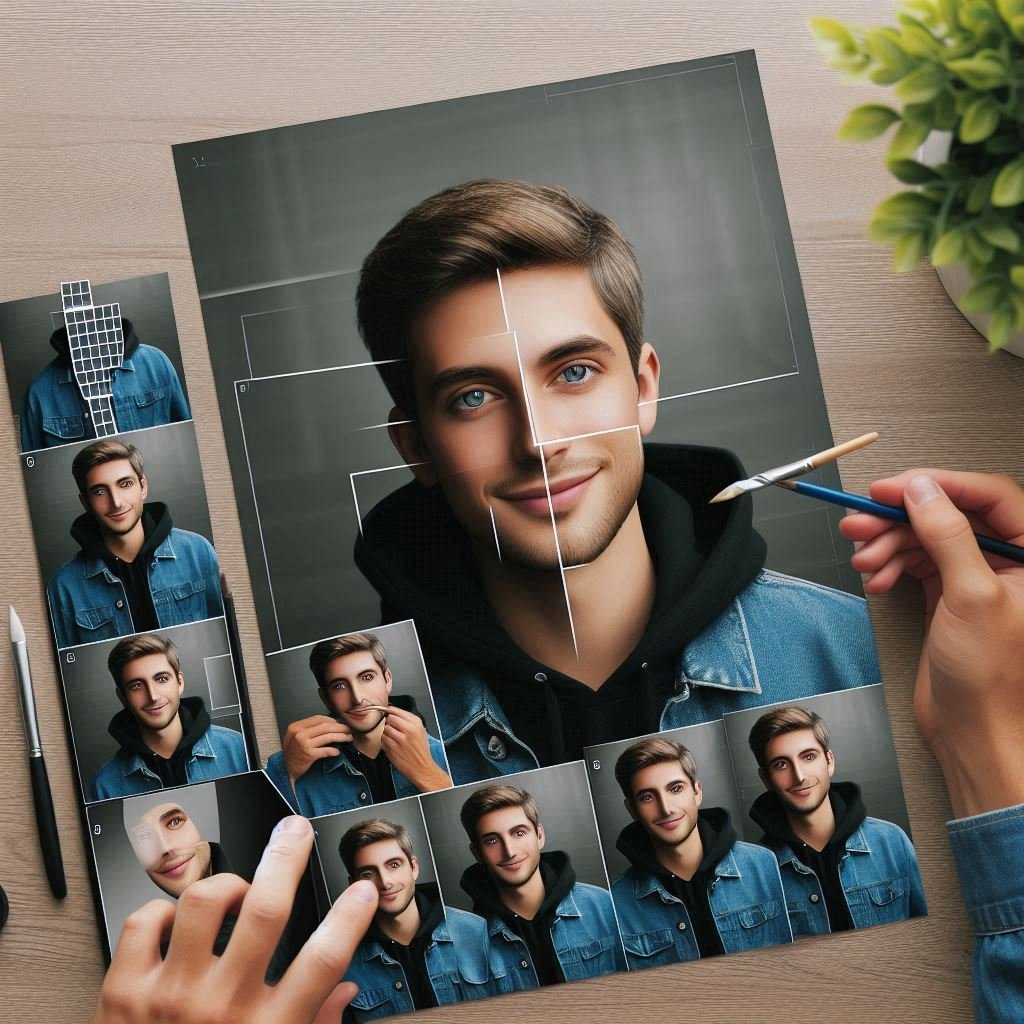
Step 3: Select Your Face
In most tools, you will have the option to crop your face from the photo. Carefully outline your face using the Selection Tool. Some apps have automatic facial recognition that makes this step even easier.
Step 4: Place your face in the target image
Once your face is selected, place it on the target image. Adjust the size and position to make it look natural. You can rotate or flip your face according to the angle of the target photo.
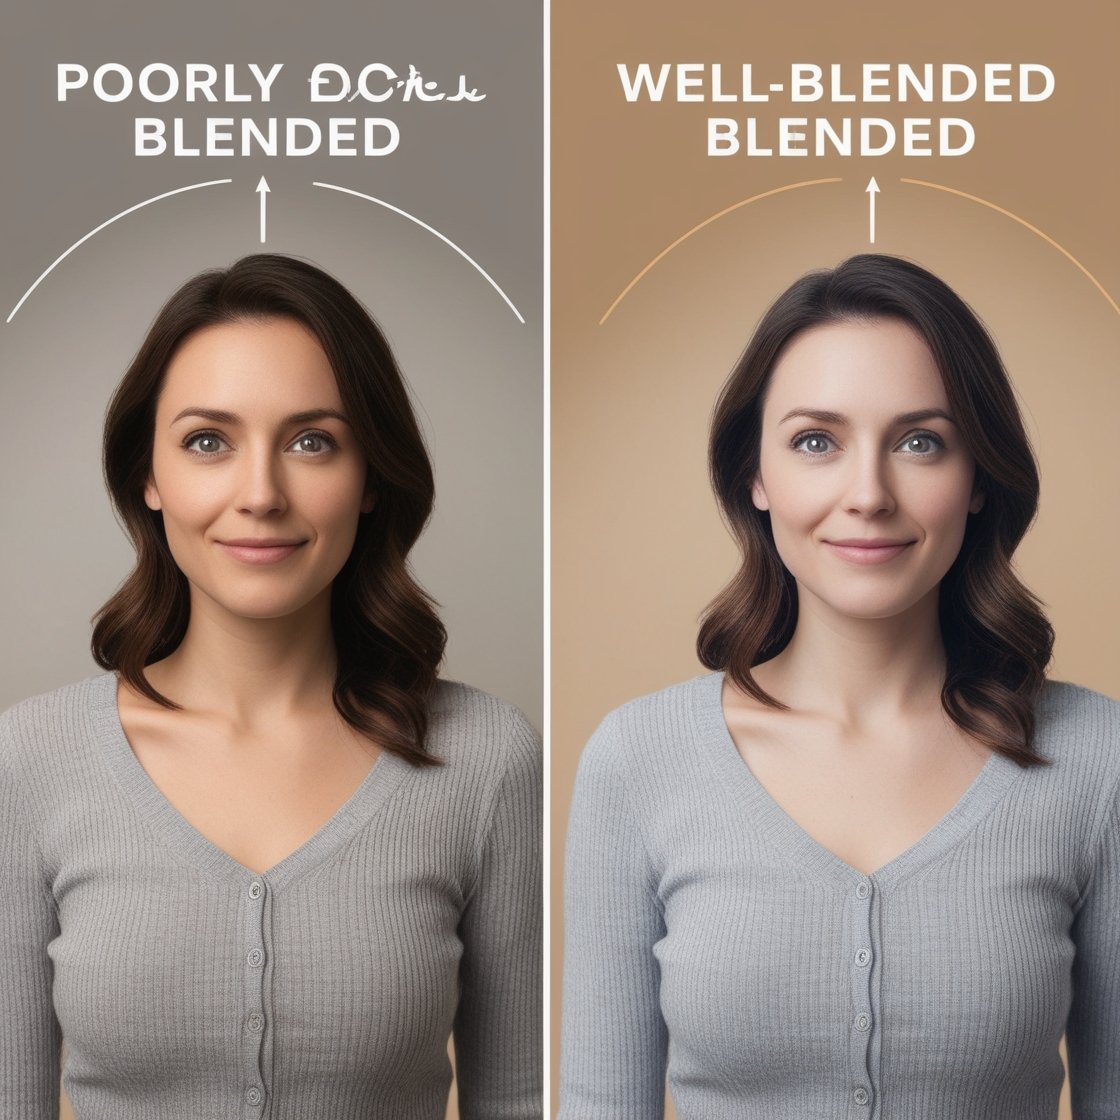
Step 5: Blend and Adjust
To blend your face with the new background, you can use some adjustment tools. This may include changing the brightness, contrast, or color so that the rest of the image looks the same. Some apps also have automatic blending features that can save you time.
Step 6: Save and Share
When you are satisfied with the desired result, save the image to your gallery. From here you can print it, share it on social media, or even create a personalized gift.
Here are some tips to improve your face swaps:
Match the Lighting
For better results, try to adjust the lighting of your photos. If your face photo is bright, choose a target photo that is bright.
Use High-Quality Images
The more high-quality photos taken, the better the final result. Please do not use blurry or low resolution images.
Practice makes perfect.
Don’t worry if it’s not perfect on your first attempt. Your work will get better the more you practice it.
Conclusion
Putting your face in any photo is a great and creative way to express yourself. Whether you’re doing it for fun, social media, or giving a special gift, the process has become much easier these days with a variety of apps and tools. By following the steps in this guide, you will learn something about it.
Frequently Asked Questions (FAQs)
Q 1: Which applications can I utilize to insert my face into a different photo?
Ans : There are multiple options available, such as Adobe Photoshop for complex editing, Canva for a user-friendly web-based alternative, and mobile apps like PicsArt, FaceApp, and Reface for rapid face swapping.
Q 2: Are there specific skills required to incorporate my face into a photo?**
Ans: There is no need for any specific skills! Numerous applications and tools provide easy-to-use interfaces that include automatic face detection and blending capabilities, enabling novices to seamlessly insert their face into any image.
Q 3 : How can I get the face to naturally merge in with the desired image?
Ans: In order to achieve a natural blend of the face, attempt to align the lighting and angles in both pictures. Utilize adjustment tools to enhance the brightness, contrast, and color. Some applications also include automatic mixing capabilities to assist with this
Q 4: Can I add my face to a photo using my smartphone?
Ans: Yes, you can easily add your face to a photo using your smartphone. Apps like PicsArt, FaceApp, and Reface are mobile-friendly and allow you to do this on the go.
Q 5: Is it possible to add my face to a photo without any watermark?
Ans: Yes, some apps allow you to save your edited photos without a watermark, especially if you are using the premium or paid versions. Be sure to check the app’s features before downloading or purchasing.